Pages

Sunday, October 28, 2012

Wedding Slide Show


Just thought I would share our wedding photo slide show with everyone who hasn't seen it yet on Facebook!

Check it out here!


Tuesday, October 23, 2012

Ittle Bittles is Live!

That's right!  My Etsy shop is finally online!  It's not much yet since I only have one item on there, but it's actually live!  More products will be coming soon now that house projects are winding down and the weather is a little chillier.  Knitting is always much more fun wrapped in a cozy blanket.

The main factor in finally getting the site live was that before I moved into my new craft room, I didn't really have a good place to take photos.  And we all know photos sell the product.  When I talked about it with Chris a few weeks ago, he suggested we create a studio of sorts that could be easily put away, so it wouldn't take up too much space.  I concurred.

We figured that a dowel with a crank that was suspended out from the wall a bit should do the trick.  After a fun trip to Home Depot and Jo-Ann's, I came back loaded with goodies to get it going.

A few of the things in this photo were actually used to hang the burlap board.


Unfortunately, when I got home I found out I bought the wrong hook because it didn't have a point.  Whoops.  Chris got the flat metal pieces you see above to try to and make a work around, but that failed because it was ugly and tough to get everything sitting right.  I headed to Sunroc down the street and found those same hooks, but with a point.  Lesson learned.

We sprayed everything white so that it would match and be pretty, then Chris got everything hung for me.  I had to do a little patchwork on the areas we messed up on earlier, but since I cleaned the can dry when I painted the room, I was out of the correct paint.  I found our little tester can which I used to cover the patches, but you can see that it is a little darker than the real paint.  I grabbed a quart of the actual paint last week to fix it properly, so try to ignore those for now.

Here she is after Chris finished attaching to the wall.


Next step was to cut the fabric I picked up at JoAnns.  I looked at all the different types of materials and settled on bridal fabric because it was heavy and had a little sheen to it.  Would serve well for a plain backdrop.  I got out my trusty rotary cutter and started slicing.  Seriously, what did I do before I had this thing?


I took duck tape and attached it to the rod then wound it up to see if it would work.  Yay!  It stayed in place!


Here is what it looks like down.


And here it is as my new studio during the first photo shoot!


Now that you've seen the behind the scenes magic, head on over to my new shop and buy some duck booties!


Friday, October 19, 2012

Guest Suite

In honor of my parents being in town and actually using the guest room, I thought I would finally show you all the end product.  Since the room had been previously painted the wonderful color of Divine Buttery when I was originally using it as a craft room, it already had the means to be an amazing Oregon Duck themed room.  When Chris first moved in Mary hung a few Duck photos on the wall, so naturally, everything Oregon related that I brought with me in the move went into that room.  It was kind of a lot, so I'm giving all my Beaver friends a heads up that you may need to rent a hotel room if you decide to come visit us.

When I finally got the room all situated I realized there was one thing I was missing...a duck decor pillow.  I really needed one to complete the vibe.  I considered looking online at the Duck store, but then I remembered I actually had some Oregon fabric on hand already.  Knowing Chris and I would be starving when we got to our hotel after our wedding night, Mary hooked us up with an Oregon fabric lined basket full of delicious goodies to gobble up.  It was heaven.  I dug the fabric out of my collection to see if it was big enough to work.  Yep!


I knew I had a throw pillow that wasn't being used as I had recently retired it from a knitting experiment I created a few years ago.  The knit pillowcase just wasn't gonna cut it in this house...although I may try again with a fresh pattern now that I have a new palette to work with downstairs.  Anywho.  Here's the pillow.


Exciting, right?

Next step was to figure out the size I'd need to cut the squares.  Some quick measuring revealed I would have about 2 extra inches of fabric left over.  Luck was on my side.

I got out my trusty rotary blade and went to town.


Next step was to put the two right sides together and sew a half inch border around three sides, only leaving a small gap for the pillow to slide through at the bottom.  Then turn it right side out and voila...my pillowcase. 


All that was left was to stuff the pillow in and sew the last small section together.  Here is my sweet new Duck pillow!


Now for the final room reveal.  To remind you of what the empty space looked like to begin with, here it is, complete with striped walls.


And now here it is all Ducked out!


It may just be my favorite room in the house for obvious reasons.  I think now that my parents are here it may be the kitties favorite place as well.

Dwight looks very Sphinx-like on the bed.


And Farrah loves her grandma's suitcase.


I hope everyone wants to come visit us now that they know what an awesome room they get to stay in!!!

Thursday, October 11, 2012

Burlap Pin Board

I recently started getting the Ballard Designs Catalog courtesy Kristen signing me up when she saw the style was similar to what I was trying to achieve in our home.  Although we could never afford most of their stuff, I love the netral pallet that they have going on and there are tons of good contemporary ideas.  As I was flipping through I saw this picture when I reached the office design section.


I knew I needed to have one in my new craft room...it was perfect for the ambiance I wanted.  And I would need a good idea board for when I started getting into my knit projects.  Only problem was their largest size was only 34" x 55".  Oh and it was $219.  Seriously?

One of our wedding gifts from Chris' coworker, Andy, and his wife, Lisa, was a gift card to Hobby Lobby.  Being from Oregon, I really had no idea what this store was.  When Chris first moved to Utah he actually went in thinking it would be a hobby store full of model planes and paintable military figurines.  Too bad for him it actually turned out to be a Michael's craft store on steroids.  The moment I went in I never wanted to leave.  I could set up camp there and be entertained for the rest of my life.  This place was a giant, two story, craft lover heaven.

I knew I had to focus and not get distracted from my mission.  To the cork board section I went.  They didn't have any ginormous boards like I wanted, but luckily I had Chris at home who I knew could figure out how to put them together.  I grabbed a couple 24" x 36" boards and one 16" x 36"board....64" wide would fit nicely on the wall where I planned to hang it.  The only negative I found out about Hobby Lobby was that they only allow one 40% coupon per purchase.  I was tempted to buy one, then come back in again, but I really didn't feel like being the person who gets caught and the sales people laugh at later.  I grumbled as I paid full price for two of them.

My three boards.


Next stop was JoAnn's where I also had a gift card to from the wedding courtesy my grandma's good friend, Christie, a fellow crafter and quilter extraordinaire.  Burlap just happened to be 40% that week PLUS a 20% off total purchase.  It was just a great day, let me tell you.

I actually left the board frame buying to Chris who went to Home Depot the next day (yes we had another gift card) and got three 6' long skinny pine boards.

First step was to build the frame.  I'm still scared of the saw, so Chris got to do all the wood cutting and nail gunning.


Then he nailed the cork boards to the frame and added one more support board that I had leftover from our canvas frame building project to keep the middle from sagging.


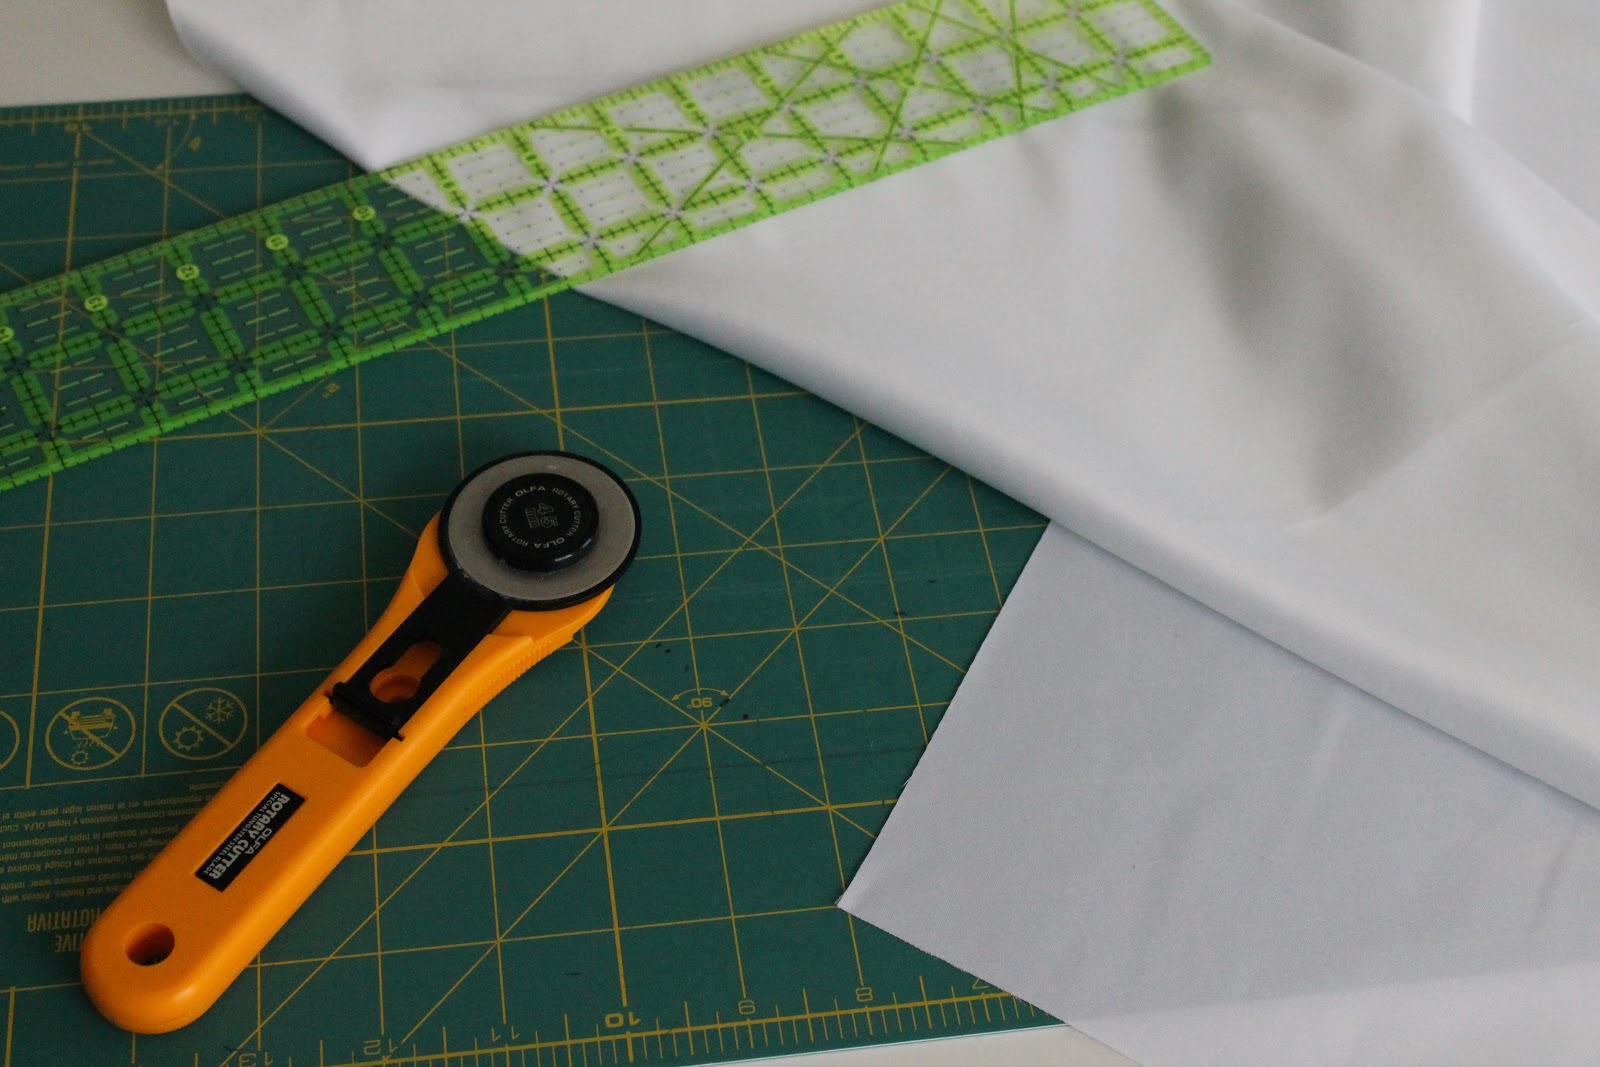
Meanwhile, I cut the burlap so that it would have a two inch overhang on each side to fold and tuck on the back side.


After he was done with that I got to play with the fun staple gun (side note we are not on good terms anymore after stapling my hand the other week...I got a safety talk from Chris).   After making sure every thing was aligned to the grain I started working my way around.  Finally finished, I flipped to see how she looked.


So awesome!  Final touch was to add some white thumb tacks that I found out in one of the drawers in the garage.  That place has many treasures if you search hard enough.

I decided to put a few more on than the Ballard boards had.  About halfway through when my thumbs were ready to fall off I realized that was probably a bad decision.  Too late.


A good hour later she was all finished.  With Chris' help we mounted it up on the wall with some intense hangers.  He then added one of his paper roses I made him forever ago and we stepped back to admire.


The more I add to this room the more I love it.  It's got such a great vibe going!  In case you were interested in how much this ended up costing, here is the breakdown.

Cost breakdown
Cork boards.................$41.17
Burlap........................$4.78
Pine boards..................$9.75

Total                             $55.70  (all on gift cards!!!)

If you add in the extra pine board and what I'm guessing was about $3 for thumb tacks that we already had, you can add $6.25 to that total.

Beats $219, right?

Tuesday, October 9, 2012

Deco on the Cheap

As I was moving everything from one room to another during the room switch, I realized there were quite a few Ikea picture frames that Mary had bought Chris awhile back, but never got used.  I also knew that I needed to actually put things up on the wall in my new craft room to make it a little more creatively stimulating.  I was still continuing my white theme in the craft room, though, and the frames were all black, so lucky me, more painting!  This time I was gonna take the easy way out and spray paint.  Much quicker and WAY less work.

Here is one of the smaller Ikea frames freshly unwrapped.


All my Riba style frames, courtesy Mary Bence, lined up and ready to spray.


Next step prime and spray away!


While those were drying I had to figure out what I was going to put in them that would be a cohesive look without spending any money.  I know a lot of people find old botanical prints and such, but I wasn't sure how Chris would feel about me digging through the library in his office and pulling apart books, so I opted to dig through my fabric collection.  Luckily, I just brought home a huge stack of fun fabrics from my grandma and her friend Christie that they had bought to make a quilt, but realized partially into that they weren't feeling it.  Two ladies' junk is another woman's treasure.  I picked my favorite five prints from the group and started prepping.


First thing to do was iron to get them all nice and flat.  Couldn't get out the creases perfectly, but I knew they would flatten more once in the frame.


Then I took the glass from the frames and measured each fabric swatch out to the correct size.


Once the frames were all dried and beautiful, the fun really began.  I placed each swatch in it's correct frame then started moving them around on the floor to see what arrangement would look best hanging on the wall.

Next was my least favorite of measuring each space on the wall to hammer in the nails.  It takes forever, but trust me it's worth it not to have to patch holes or be unhappy with spacing.

Then all that was left was to take a step back and admire the first set of wall decorations in my freshly painted craft room.


So cheap and easy and perfect for the space!