The main factor in finally getting the site live was that before I moved into my new craft room, I didn't really have a good place to take photos. And we all know photos sell the product. When I talked about it with Chris a few weeks ago, he suggested we create a studio of sorts that could be easily put away, so it wouldn't take up too much space. I concurred.
We figured that a dowel with a crank that was suspended out from the wall a bit should do the trick. After a fun trip to Home Depot and Jo-Ann's, I came back loaded with goodies to get it going.
A few of the things in this photo were actually used to hang the burlap board.

Unfortunately, when I got home I found out I bought the wrong hook because it didn't have a point. Whoops. Chris got the flat metal pieces you see above to try to and make a work around, but that failed because it was ugly and tough to get everything sitting right. I headed to Sunroc down the street and found those same hooks, but with a point. Lesson learned.
We sprayed everything white so that it would match and be pretty, then Chris got everything hung for me. I had to do a little patchwork on the areas we messed up on earlier, but since I cleaned the can dry when I painted the room, I was out of the correct paint. I found our little tester can which I used to cover the patches, but you can see that it is a little darker than the real paint. I grabbed a quart of the actual paint last week to fix it properly, so try to ignore those for now.
Here she is after Chris finished attaching to the wall.

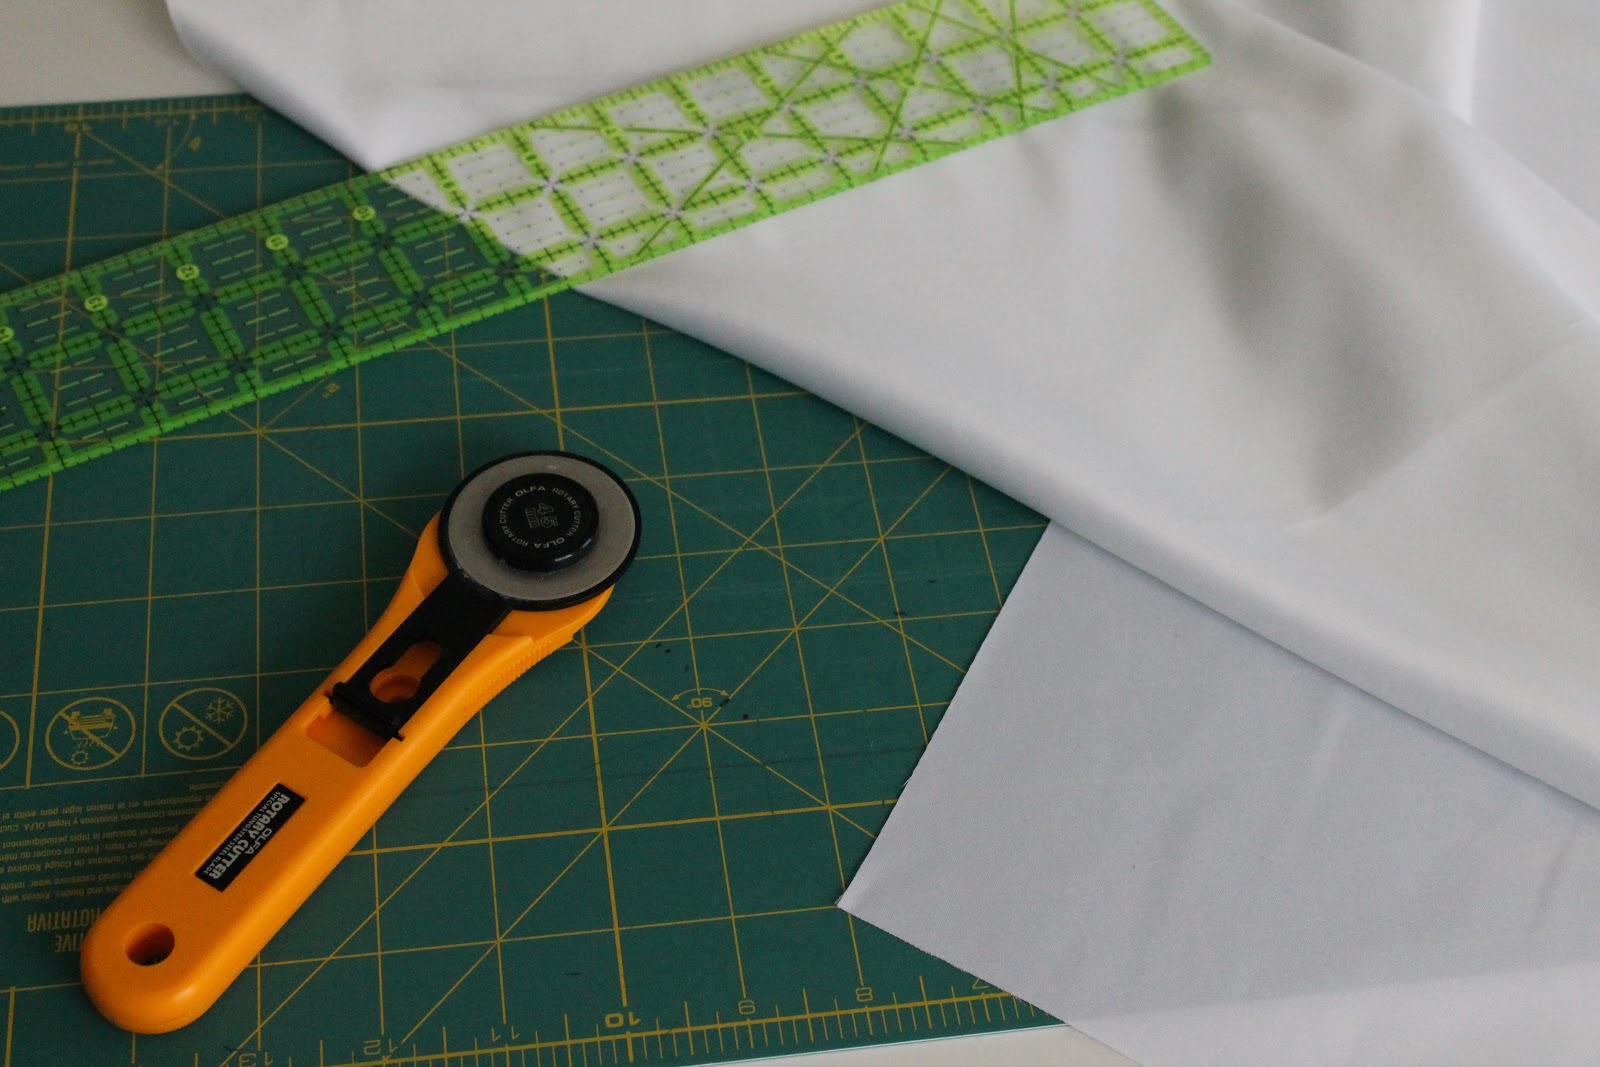
Next step was to cut the fabric I picked up at JoAnns. I looked at all the different types of materials and settled on bridal fabric because it was heavy and had a little sheen to it. Would serve well for a plain backdrop. I got out my trusty rotary cutter and started slicing. Seriously, what did I do before I had this thing?
I took duck tape and attached it to the rod then wound it up to see if it would work. Yay! It stayed in place!

Here is what it looks like down.

And here it is as my new studio during the first photo shoot!

Now that you've seen the behind the scenes magic, head on over to my new shop and buy some duck booties!
Congratulations! That is so exciting :)
ReplyDeleteYAY! I'm proud of you friend; it will be a great success!
ReplyDeleteI'll be putting in an order for Duck booties this weekend. I won't need shipping though - I'll pick them up when I visit in 30 days!!!